| Using ADAPCMCFL without a hard disk |  |

| ||
|
||
| This document explains how to use the ADAPCMCFL software disk on an unexpanded Amiga 600 or 1200 which is not equipped with a hard disk drive. | |
| Disk Loading Insert the ADAPCMCFL disk into the Amiga's floppy disk drive. Insert the PCMCIA Compact Flash Adapter into the PCMCIA slot of the Amiga. Be careful not to bend any pins and ensure the card is inserted straight (not at an angle). Switch on your Amiga. The disk will start to load and display the amigakit.com logo as shown in the illustration. |  |
| Stage 1 Click Next >> button to continue. | 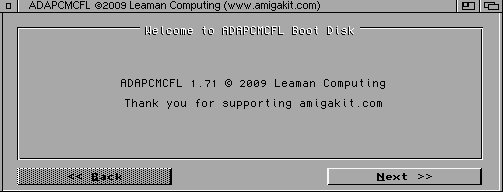 |
| Stage 2 By default, the PCMCIA reset bug is patched by the software. To disable this feature, goto the Settings menu and select PCMCIA Patches >> All Patches Off Click Next >> button to continue. | 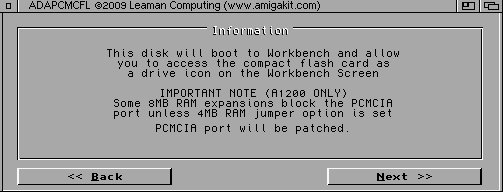 |
| Stage 3 Eject the ADAPCMCFL disk and insert your Amiga's Workbench floppy disk. Click Next >> button to continue. | 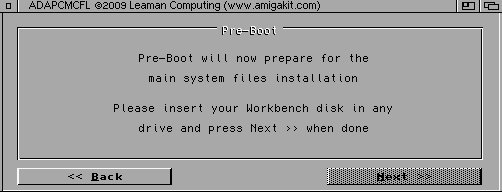 |
| Stage 4 The Amiga System files will be loaded into memory automatically from the Workbench floppy disk. | 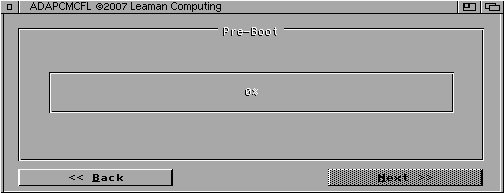 |
| Stage 5 Eject the Workbench disk and re-insert the ADAPCMCFL floppy disk. Click Next >> button to continue. Workbench will then been loaded with the EasyADF icon displayed on the Workbench screen. |  |
| Stage 6 The Compact Flash driver will then been loaded. Carefully insert the Compact Flash memory card into the PCMCIA adapter. A compact flash drive icon will appear on the Workbench screen. The ADAPCMCFL-Boot window will close automatically. | 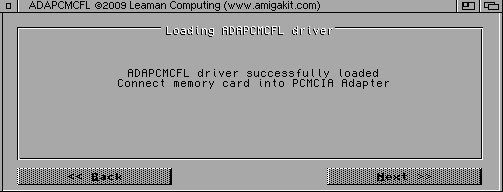 |
| All information contained in this document is provided without warranty or guarantee of any kind. We cannot be held responsible for any data loss or consequential loss arising from the use of this document's information. © Copyright 2009 Leaman Computing Ltd. All Rights Reserved. |